General Ledger Mapping
How to map and balance a general ledger.
The GL tool cannot accommodate calculating subtotals by Job allocation, Wage Allocation, or on a Per Employee basis. If your GL file must include these configurations, you will need to create accounts and associated mappings (detailed on pages 3-5) via the tool.
OVERVIEW
The GL tool cannot accommodate calculating subtotals by job allocation, wage allocation, or on a per employee basis. If your GL file must include these configurations, you will need to create accounts and associated mappings via the tool.
MODIFYING DISPLAY PREFERENCES
To set general ledger display preferences:
-
Log in to Namely Payroll.
-
Click Company.
-
Select General Ledger Configuration.
In order to modify the report format preferences prior to configuration, click General Ledger Settings.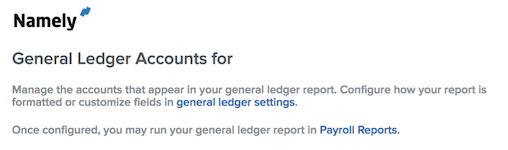
-
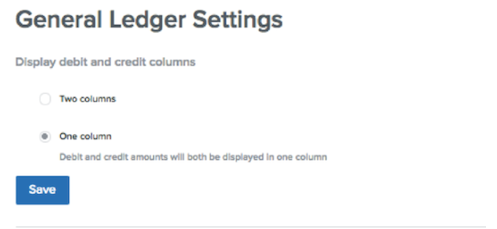
You will have the option to configure the display of Debit and Credit columns.
-
By selecting Two columns, it will display debit amounts in one column and credit amounts in another.
-
By selecting One column, it will show positive and negative amounts in the same column for debit and credit.
-
Select Save.
You have the option to add up to three custom columns to your general ledger report.
To add custom fields:
-
Click Edit.
-
Enter a Custom Name for each column in the Custom Fields section.
Note: There is a 50 character maximum for each custom field.
Custom fields display on your Add Account page. The order in which the custom fields are displayed is determined by the order in which they are created.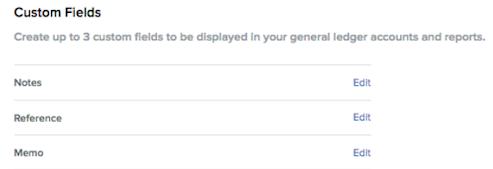
Note: Once custom fields are added to the report, labels can be created for each field on a per account basis.
CONFIGURING ACCOUNTS
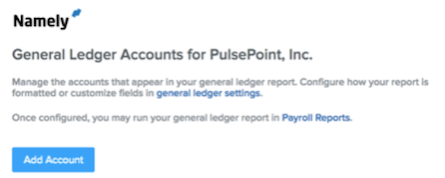
Once your preferences have been set, return to the general ledger configuration page.
To begin general ledger configuration:
-
Select Add Account.
-
Enter an Account Number and Account Name.
Note: There is a 50 character limit on each of these fields.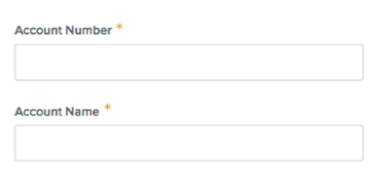
-
Add Notes.
-
Depending on general ledger settings, custom fields may be optional. Reference Note is an example of a custom field name. The text entered in this column will populate under the Reference Note column in the general ledger.

-
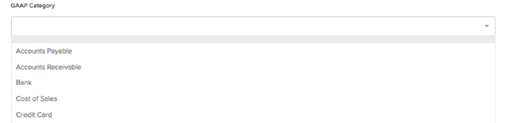
Select a GAAP (Generally Accepted Accounting Principles) category to categorize the account.
-
Note: If a GAAP category is not selected, this column will be left blank on the general ledger.
-
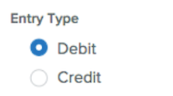
Select whether this entry is a Debit or Credit under Entry Type. Typically, with every debit account you create there will be an associated credit account (or vice versa) so that the general ledger balances.
-
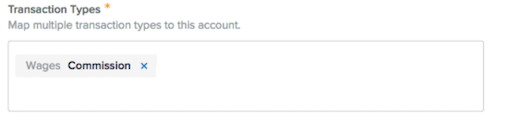
Add all Transaction Types that should be mapped to the account. The same transaction types can be added to multiple accounts, if needed.
-
Select Subtotals to determine general ledger calculations.
-
By company will aggregate all transactions across the entire company on a single line.
-
By group will total all transactions on a per group basis depending on what was selected. In the event multiple groups are selected, the totals will display on multiple lines in the report.
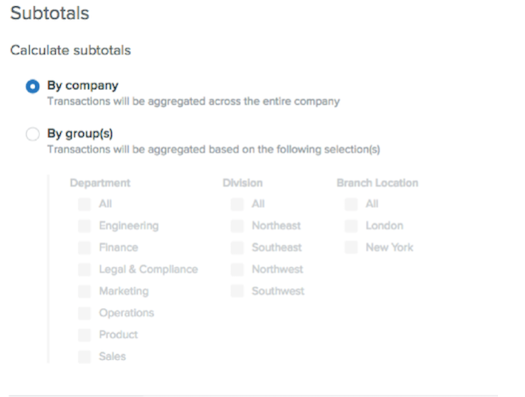
If By group(s) is selected, you can attach a code to the account number entered for display purposes.
The code is entered on the Department, Division or Branch settings by logging into Namely Payroll > Company > Select Edit.
If you do not use Report Display Settings, when totaling by groups, you will have the option to keep totals in multiples or consolidate as Single Line in Display Amounts.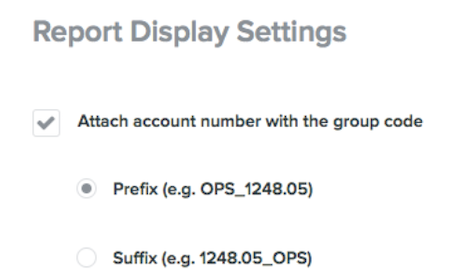
-
Choose Display Amounts with the same account number. You have the option to select either Multiple lines or Single line.
-
If you select Subtotal By Company or are using the Prefix or Suffix Code option the Single line option will be required.
-
If you select Subtotal By Group and are not using the Prefix or Suffix Code option, you can choose either options.

-
Select Save Account.
You can view accounts on the index page.
To edit or delete an existing account click on the account number hyperlink.
GENERAL LEDGER REPORT
Once you have finished mapping all accounts, you can view newly created general ledger report in real-time.
To access the report:
-
Go to Reports in Namely Payroll.
-
Select either Pay Cycle, Date Range, or click Payroll Reports from the General Ledger Configuration page.
-
Review before you approve payroll.
On the reports page, Namely has provided three excel reports related to your general ledger. The main report is listed as General Ledger Report. You will also have access to General Ledger Report By Employee which provides employee level details from the General Ledger Report and a General Ledger Mapping file which shows the details of every account and the transaction types associated. You can also run your General Ledger Report on step 3 of payroll processing to review before you process.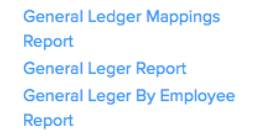
GENERAL LEDGER BALANCING
The chart below depicts the typical entry type for each transaction and what payroll category it falls under.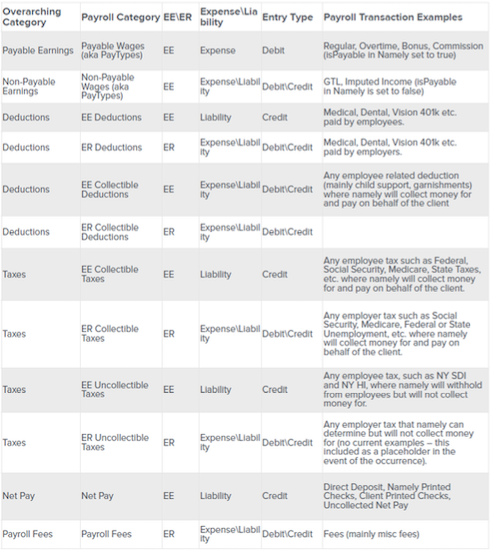
The chart below depicts debit and credit balancing in a color-coded format.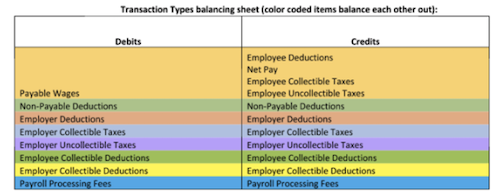
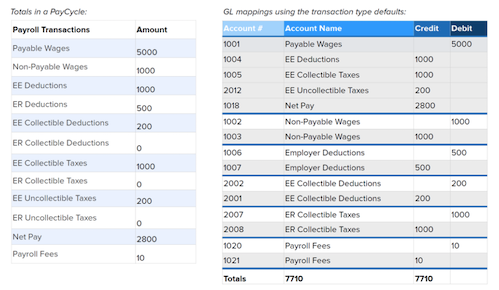
Example:
TIPS
-
Do not bookmark the General Ledger Configuration page. Administrators must be logged into Namely Payroll and HCM to fully use the tool.
-
If the General Ledger Tool cannot fully accommodate your report type, you will still need to complete the mapping of Transaction Types per account. Once this is configured, Namely can make a request on your behalf to have the report configured to your desired format.
-
If accounts or transaction type mappings are deleted, the General Ledger Report will return to its standard format.
-
If you do not map a transaction to an account this will result in the transaction type displaying in the report with account number 999999. If you fail to map a transaction type account that is and totaled by Department or Group, you will see multiple line totals (by department, division and branch) all with the default account number of 999999.
-
Transactions, entry types, and group settings should not overlap with another account or duplicate another account as over mapping will occur.
-
If an account is not mapped correctly based on the balancing guidelines above, the transaction type will display in the report with account number 999999 until mapping is corrected.