Period Export Filters in Namely Time
Use this article to learn about creating and configuring Period Export Filters in Namely Time.
OVERVIEW
Period Export Filters can be used to separate employee hours that are exported into Namely Payroll. Two common uses for these filters are if you have both hourly and salary pay groups or if you have multiple EINs in which hours need to be separated by different payroll companies.
How to Create a Period Export Filter
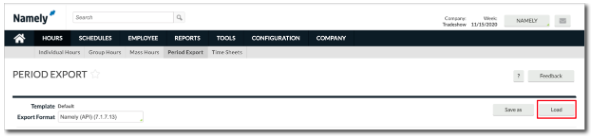
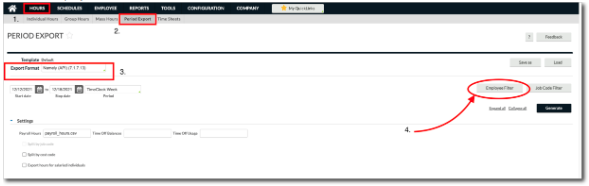
In Namely Time, go to:
-
Hours
-
Period Export
-
Under Export Format, select Namely API (7.1.7.13)
-
Click Employee Filter
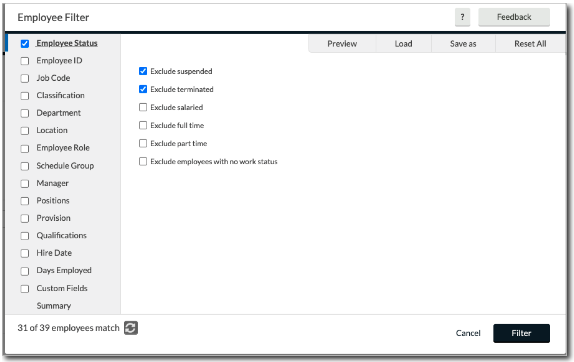
Configuring the Employee Filters
After selecting Employee Filter you have the ability to use multiple filters if needed. For example, a template can include specific employee roles, departments, and custom fields. The most commonly used filters are:
-
Employee Status: This is always turned on and hides employees who are suspended and terminated. It can also hide employees who are salaried, full-time, or part-time. If you need to view terminated or suspended employees, simply deselect these options.
-
Employee ID: This filter can include specific employees.
-
The ID can be manually entered.
-
Typing 1-3 would show IDs 1, 2, and 3.
-
Typing 4,12 would show IDs 4 and 12.
-
If you do not know the employee ID, you can use the Select button to search and choose from a list of names. There are also a set of filters available so you can choose to focus on specific employees or focus on everyone except specific employees.
-
-
Job Code: This filter can include employees who were assigned specific job codes.
You can also use filters as a way to categorize an employee. Each of these may be defined on the Information tab on the Employee Profile or Role:
-
Department: This filter can include employees in a specific department.
-
Location: This filter can include employees who work out of a specific office or state for example
-
Employee Role: This filter separates certain employees by the roles. This is recommended if you only need to see a certain group of employees.
-
Manager: This filter can include employees who report to a specific manager. The manager may be defined on the Access tab of the Employee Profile or Role.
-
Custom Fields: A specific filter that can be used is PayGroup. Select Paygroup from the custom field options and enter the name in the value field. Then click Save.
Once the filters have been selected, click Filter > Save As then enter a name for the new template. Make sure to checkmark both Make public and Save employee filter then click Save.
TIP:
Checkmark Default if this template needs to be the default for all employees.
You can now find the template under the Load tab in the upper right corner.