How to use Mass hours in Namely Time
This article will demonstrate how to use the Mass Hours feature in Namely Time. This will allow a user to add, edit and/or delete segments for multiple employees in the system.
OVERVIEW
Mass Hours is a new feature in Namely Time that enables the adding, editing, and deletion of segments for multiple employees simultaneously.
To utilize the Mass Hours feature, go to Hours > Mass Hours. From this screen, you'll be able to select the individuals you want to apply the mass hours to. You can either add them individually from a list of employees, or you can filter to include groups of employees.
SELECTING EMPLOYEES
There are two different ways to select the employees you'd like to add a mass hour function to: Selecting Employees from List and Select Using Filter.
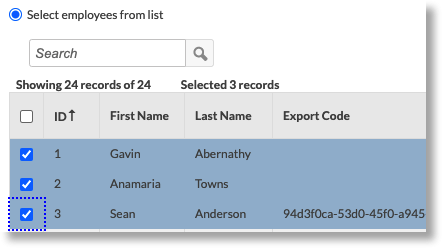
Select Employees from List
This option opens a roster of employees the user has permission to access. Place a check in the checkbox next to each name to include them in the operation.
Select Using Filters
This option allows you to add groups of employees. Selecting the radial next to this option activates two gray buttons, Filter and Work Filter.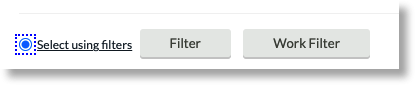
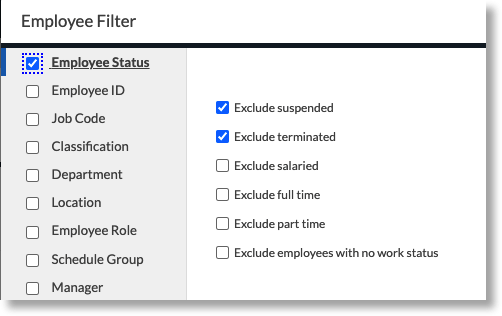
Filter opens the Employee Filter found throughout the software. This enables filtering by Employee ID, Job Code, Department, Classification, Schedule Group, Positions, Hire Date, and more.
Work Filter enables a specialized filter that tracks employees based on hours worked, along with start date and stop date. A checkbox enables the tracking of employees who only worked clock-able hours.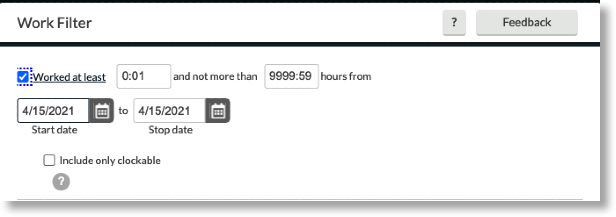
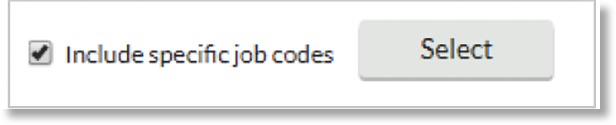
Selecting the checkbox marked Include specific job codes enables tracking employees by job code. Once you click the Select button, you'll be given a list of job codes to choose from. Once you've made your selection, click the Filter button.
MASS HOURS OPERATIONS
Once you've selected the employees you'd like to apply the hours to, click the blue Next button in the upper right corner. You'll be taken to a screen where you can select the operation you'd like to complete.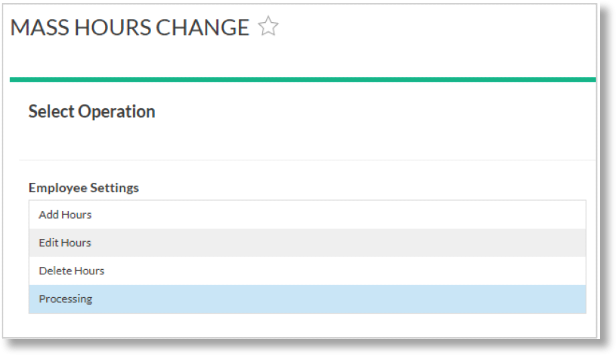
Next, we'll discuss what you can do with each Mass Hours Operation.
Add Hours
This option enables the provision of employees with an extra shift or segment. This is helpful if an employee missed a punch in or out, or requires a timesheet entry. You can also add several days at once if the hours do not change.

The following operations can be applied to selected employees from the above-pictured screen:
-
Individual is clocked in: Select if the employee is punched in at the time of the operation.
-
Time sheet entry: Select if this is a time sheet (manually entry of hours).
-
Missed in punch: The employee forgot to clock in.
-
Missed out punch: The employee forgot to clock out.
-
Time in and Time out: Enter a date for each, along with a time in and time out.
-
Break type: If a job code change or a break (e.g. lunch) splits the day, pick a break type from the drop-down menu.
-
Job Code: Choose the job code the employee works for this segment. Selecting Default Job Code prompts the software to record that code.
-
Rate: Enter a pay rate in this field by placing a check in the adjacent check box. Type any additional notes about this shift change in this field. Some settings may require a note before proceeding.
-
Days: Select a number from the drop-down menu to choose the number of days this schedule applies.
Editing Hours
This option enables the revision of either segments or timesheets. In both options, you'll be configuring the range and setting the hours if you edit segments.
Selecting this option will lead you to the Configure Range screen. The source range date (defined by the Start and Stop date) define which segments are included, and the. time in and out. Click Next to continue.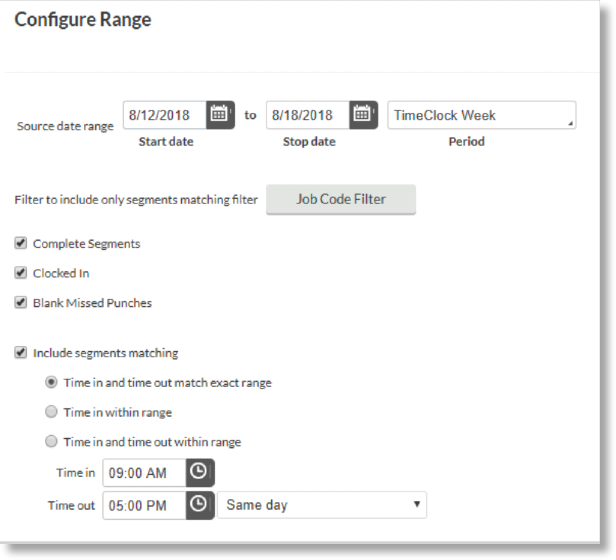
Next, you'll configure the date in and out, break type, job code, and set how time is edited from the Configure Segment screen.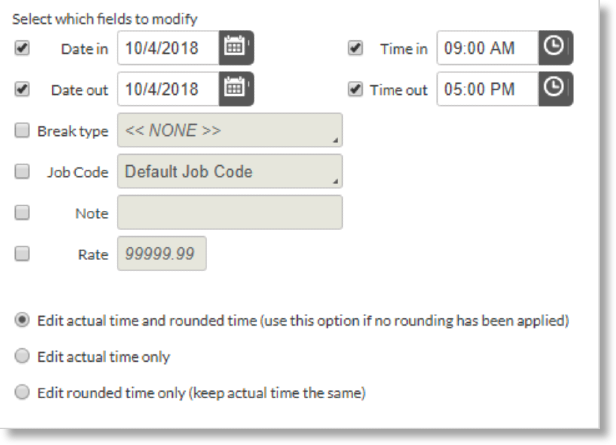
Delete Hours
This option enables the removal of certain segments or shifts from an employee’s record. You can also use this operation to locate date ranges, segments matching a certain time in or out, and blank missed punches.
The Delete Hours screen enables you to set date ranges defined by Start date and Stop date, filter segments by Job Code filters, define if an employee is clocked in, and find matching segments.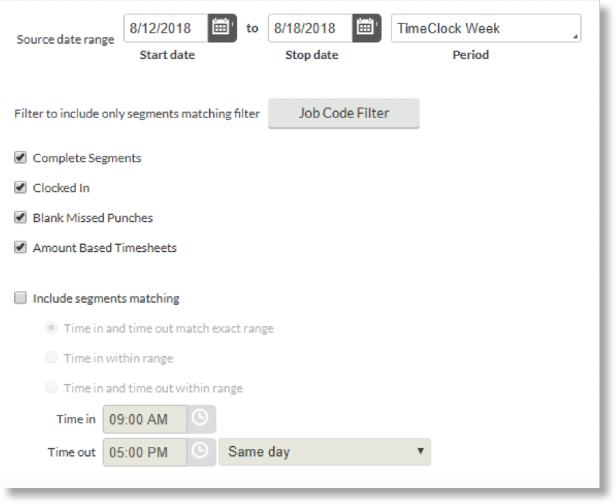
Processing Hours
This option provides a number of functions, including:
-
Missed Break Processing: Enables the entry of additional time in a specific job code automatically for a completed shift with a specific length. This option can either disable or enable missed break processing.
-
Process Variable Leave: This option allows a user to expand or subtract from an employee’s leave hours so leave time meets a certain threshold in weekly increments.
No matter which option you choose, you'll be taken to the screen below where you can define the source date range and a period. Use the date finders to define the date range, and the drop-down menu to define the period.

Summary
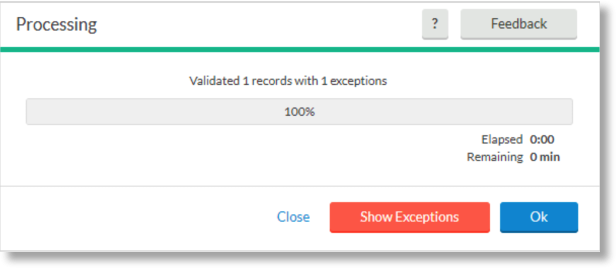
The Summary screen appears after each function, providing a summation of the changes you're about to process for final review. If your changes look correct, click Process to apply them in the system.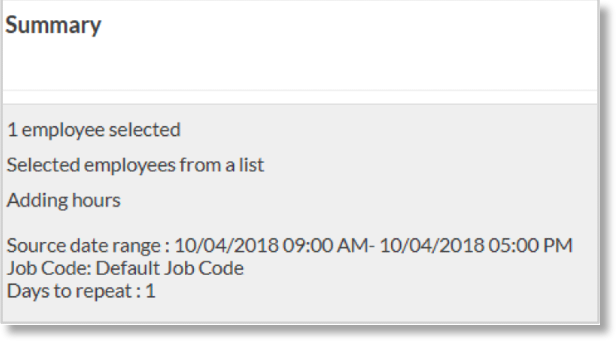
TIP:
We recommend clicking Preview prior to processing your changes, to ensure everything is functioning as you'd expect. If any exceptions are found, the Processing screen will alert you. Select Show Exceptions to view the exceptions - it's much simpler to correct them prior to processing.