How to configure Locked Periods in Namely Time
This article explains the purpose of a Locked Period and how to configure it in Namely Time.
OVERVIEW
Locked Periods in Namely Time allows you to lock down hours for a particular period before Closed-Week operations occur. Use this function if your pay periods are not always determined by a complete week.
Configuring Locked Periods will prevent employees from editing segments or timesheet entries before a specific date. Configure this function on the Employee Role level for specific roles and the Global level for all employee roles within the company.
CONFIGURING LOCKED PERIODS
To setup Locked Periods on the Employee Role level in Namely Time:
-
Click Employee > Employee Roles.
-
Select the applicable role from the left.
-
Click the Hours tab.
-
Scroll down and expand the Locked Period section.
-
Select the checkbox for Locked Period Enabled and the date for Lock hours before.
-
Locked Period Enabled: Select this checkbox to enable locked periods for the employee role.
-
Lock hours before: Choose a date from the calendar or type it into the field to specify the date range.
-
For example, if you select 03/14/2021, employees will not be able to edit the segments before that 03/14/2021.
-
-

-
Click Save.
To setup Locked Periods on the Global level in Namely Time:
-
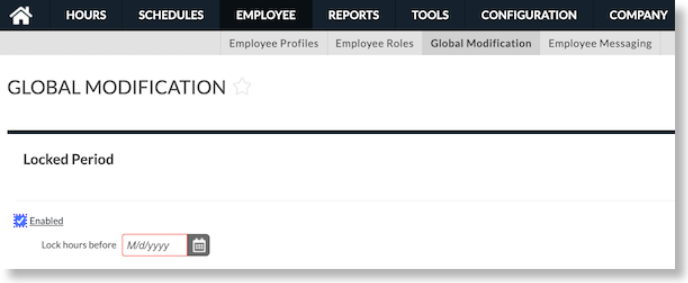
Click Employee > Global Modification.
-
Select the option for Roles > Next.
-
Select the applicable Roles > Next.
-
Select the applicable Operations > Next.
-
Click the Hours tab.
-
Select the checkbox for Locked Period Enabled and the date for Lock hours before.
-
Locked Period Enabled: Select this checkbox to enable locked periods for the employee role.
-
Lock hours before: Choose a date from the calendar or type it into the field to specify the date range.
-
For example, if you select 03/14/2021, employees will not be able to edit the segments before that 03/14/2021.
-
-
-
Click Save.