iCIMs Integration Setup
OVERVIEW
iCIMS (Internet Collaborative Information Management Systems) is a cloud-based recruiting platform that can feed candidates into Namely, streamlining your onboarding processes. This article provides details on setting up an integration between iCIMS and Namely.
INTEGRATION DETAILS
Namely Connect
You can navigate to Namely Connect (connect.namely.com) to successfully connect Namely with iCIMS. You'll need to enter the Customer ID, Username, and HMAC Key.
Workflows
Candidates can only sync from iCIMs into Namely as an active profile.
-
User_status must be set to active.
Key Points
This integration does not support custom fields. Refer to What fields can be imported for iCIMs? for more details.
SETUP
Part 1: Create the icims_id custom field in Namely
You will need this field in order for hired candidates to flow into Namely.
-
In Namely, go to Company > Settings > Profile Fields (under Employee Data).
-
Click Add New Field.
-
Label should be icims_id
-
Type should be Text
-
Note: If you create the field with a typo, please delete it and recreate it rather than editing the field name.
-
Part 2: Log in to Namely Connect
-
Go to Namely Connect.
-
On the first page, enter your company’s permalink [yourcompanyhere].namely.com and click Continue.
-
If you’re not already logged into Namely on the browser, you'll be prompted to log in. Enter your Namely credentials.
-
When prompted, click Accept to authorize Namely Connect.
Part 3: Set a valid Namely Connect “Owner”
-
Now that you're in, go to View all users at the top of the page.
-
Ensure the person who’s selected as the Owner has the access role Administrator and is an active employee in Namely. If the current Owner meets those requirements, you’re fine to go back by clicking the Namely logo on the top left.
-
If you don’t see a valid Owner on that list, have someone who meets the requirements (active administrator) log in to Namely Connect. (Everyone who logs in joins the list of names.)
-
Once they are on the list, choose that person as the Owner.
Part 4: Connecting to iCIMS
-
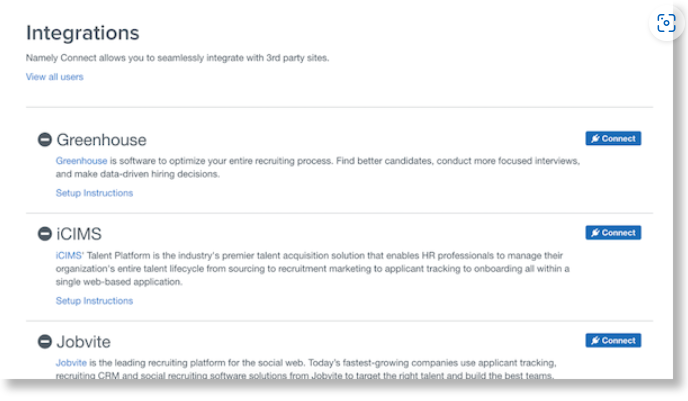
In Namely Connect, find the iCIMS connection on the list of integrations.
-
Click Connect.
-
You will be asked to complete the Customer ID, Username, and HMAC Key. This is provided to you by your iCIMS account manager.
-
Click Connect.
-
Back on the main page, you’ll see a new button appear under the iCIMS integration.
-
Log in to your iCIMS account.