Okta Integration Setup
This article includes configuration steps for Okta Integrations.
OVERVIEW
The Okta and Namely SCIM integration allow you to use Namely as a master for your user profiles. Profiles and changes will then be enabled to flow seamlessly into your Okta configuration.
CONFIGURATION STEPS
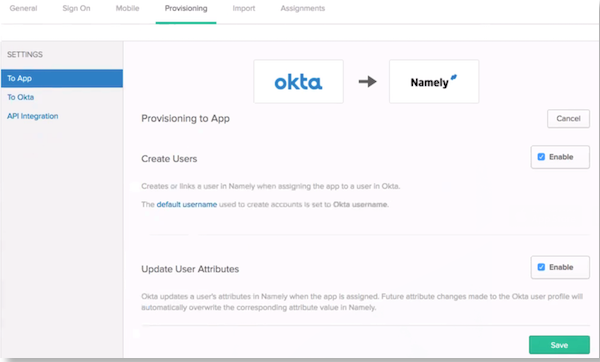
Configure your Provisioning settings for the integration in Okta:
-
In Okta, check the enable provisioning features box.
-
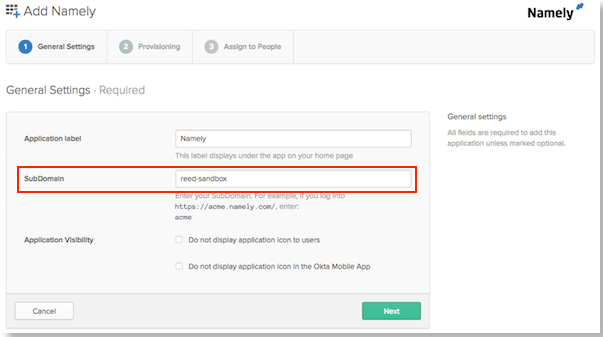
Enter your Namely subdomain in the SubDomain field.
-
For example, if you log into https://reed-sandobx.namely.com, enter reed-sandbox for the SubDomain.
-
Setup the API Authentication:
-
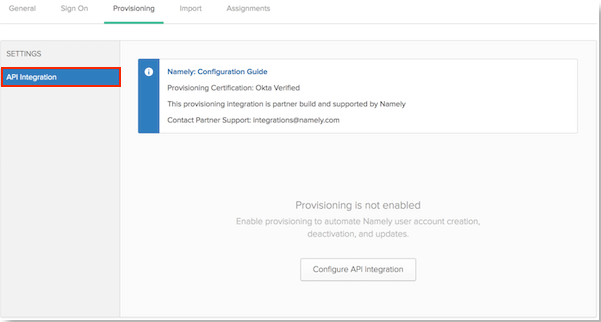
Click Configure API Integration under the Provisioning tab.
-
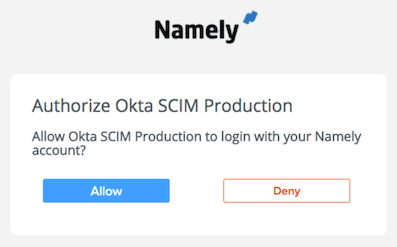
You will be redirected to a Namely page, which prompts you to enter your credentials.
-
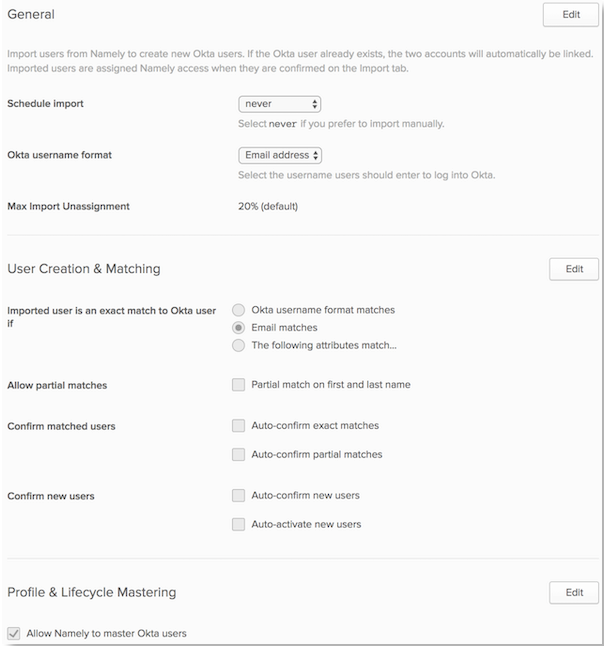
Scroll down and select the Provisioning Features you want to enable.
-
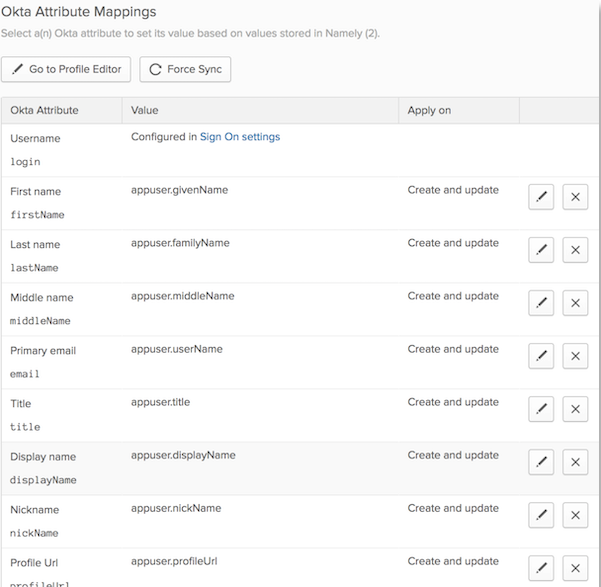
Scroll down to view supported attributes.
-
Go to Import and click Import Now. The Users will appear as a mapped list for you to approve and confirm the assignments.

-
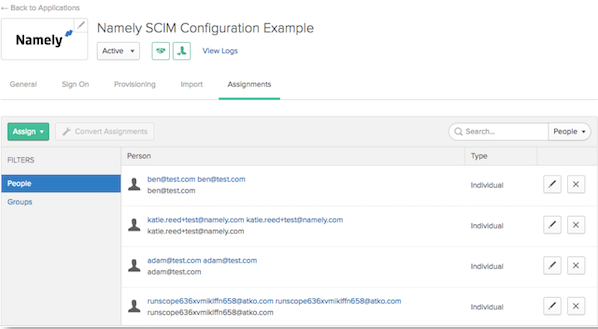
Click on the Assignments tab to review all of the Users added to the system.