How to Edit Adobe’s I-9, W-4 or W-9
How to edit the pre-built documents within Adobe.
OVERVIEW
Adobe maintains three document templates that come standard with Namely's integration—the I-9, W-4, and W-9. You can edit the settings on these documents within Adobe if you'd like.
Tip:
Any changes made to the Adobe tax forms will require the updated tax information to be manually inputted from the form into the employee's Namely Payroll profile.
INSTRUCTIONS
New document template settings can be edited from the Manage tab in Adobe, but you don't have the option to edit the three standard Adobe documents without following these steps.
-
Go to Company > Settings > eSignature > Go to Adobe > sign in with your Adobe credentials.
-
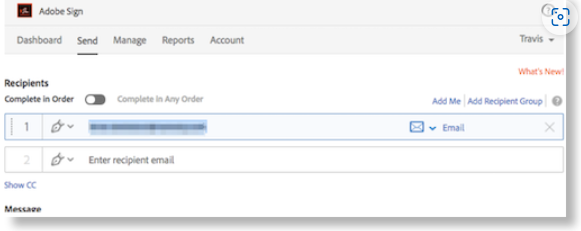
Click the Send tab and enter a recipient. It can’t be the same email for which you’ve set up the Namely/Adobe integration.
-
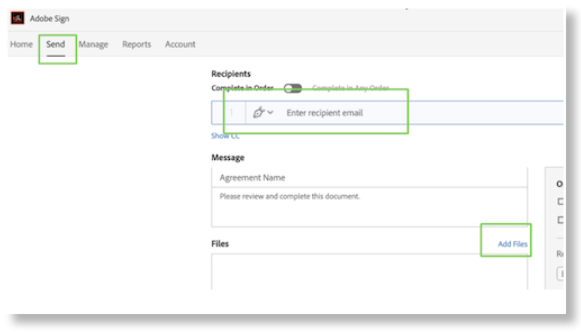
Click Add Files.
-
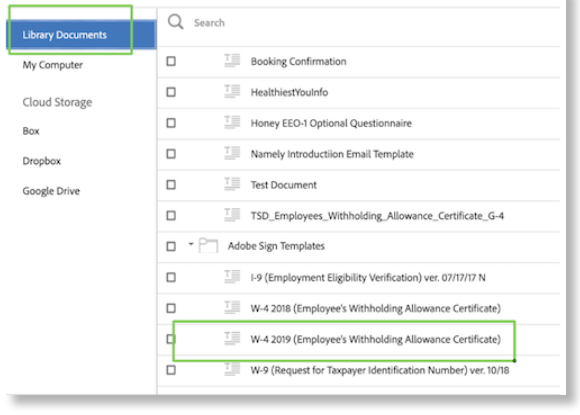
Click Library Documents, select W-4, and click Attach.
-
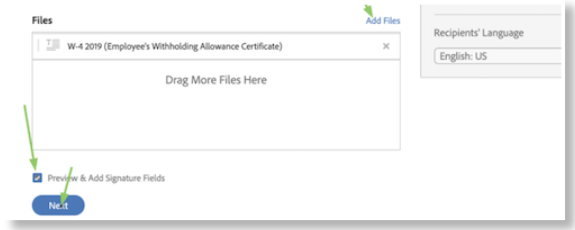
Select the Preview and Add Signature Fields check box. Click Next.
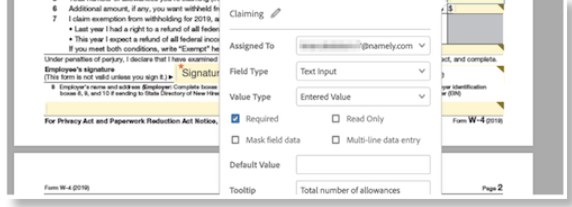
The next page will allow you to edit the W-4, where you can double click on box 5 and check the box for required.
-
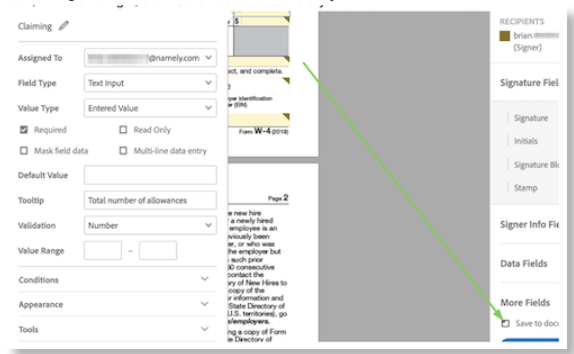
In the lower right corner, click Save Document to Library.
-
On the pop-up dialog box, click Save and Send.
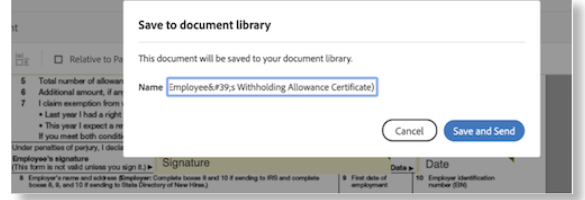
The document will be added to your Adobe library.
