Configuring Profile Fields
Introduction
Types of Profile fields
There are two types of profile fields in the system:
-
Default Fields: These are built into the system and cannot be deleted. However, they can be renamed if needed.
-
Custom Fields: These can be created, edited, and deleted as per your organization’s requirements.
Accessing Profile Fields
To manage profile fields:
-
Log in to your Namely account.
-
Go to Company > Settings.
-
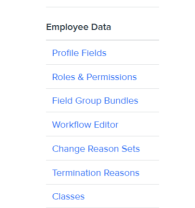
Navigate to the Employee Data section.
-
Click on Profile Fields.
Note : Typically, only administrators have access, but permissions can be extended to managers, directors, or other roles if necessary.

Here, you’ll see Tabs and Panels that organize the profile fields. The layout you configure here determines how employee profiles appear across the system.
-
Tabs: Group related information (e.g., Personal, General, Time Off).
-
Sub-Tabs: Available under the Personal tab to further categorize information.
-
Panel: A block that holds a set of Profile fields. E.g.,Basic Information. You can rearrange panels using the arrow icons in the top-right corner of each panel.

Default Fields
Default fields can be renamed but cannot be edited or deleted.
These fields are essential to the system and are used across various modules.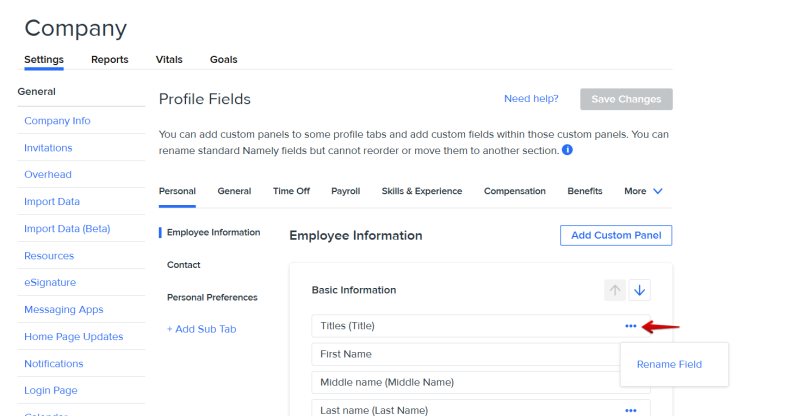
Adding, Editing, and Removing Custom Panel and Custom Fields
To Add New custom Pannel
-
Select the tab where you want to add the panel. (Such as Personal or General).
-
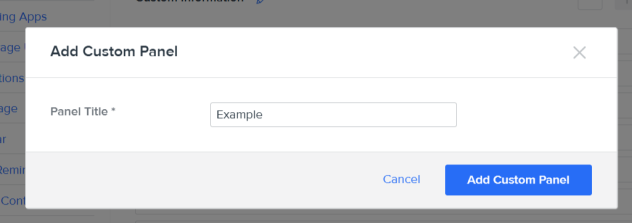
Click Add Custom Panel on the right.

-
Enter a paneltitle.
-
Click Add Custom Panel to save.
Add a new field:
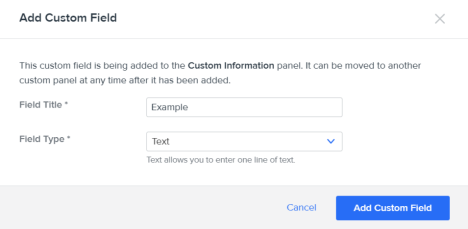
1. Under the desired panel, click Add Custom Field.
2. Enter the Field Title and select the Field Type.
3. Click Add Custom Field to save.
To edit an existing Custom field:
1. Click the three dots (⋯) next to the field.
2. Make the necessary changes.
3. Click 'SaveChanges' to update the field.
Note: Once a field is created, its type cannot be changed. To modify the type, delete the field and create a new one.
To Delete a field:
1. Click the three dots (⋯) next to the field.
2. Select Delete.
3. Confirm the deletion.
Note: Deleting a field will permanently remove all associated data for all employees. Please make sure to check before saving the changes.
Rearranging Fields into Sections
To rearrange fields into sections:
-
Navigate to the relevant panel.
-
Drag and drop fields to rearrange them.
-
Click Save Changes in the top-right corner to apply updates.
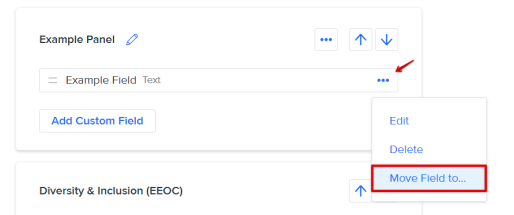
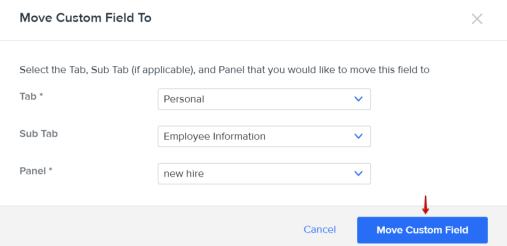
Moving Fields to different tab
-
Navigate to the relevant panel.
-
Click the three dots (⋯) next to the field you want to move.
-
Click on “Move Field To”
-
Select Tab (Note: If you select personal tab, You will be required to select the sub tab as well.)
-
Select Panel you want this field to be moved to
-
Click on Move Custom Field Button
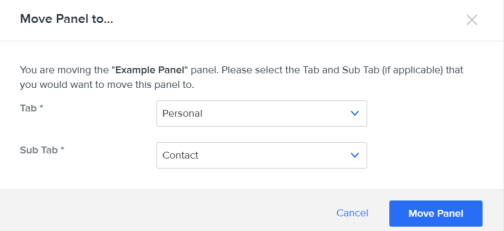
Moving Panel to different Tab/Subtab
-
Navigate to the relevant panel.
-
Click the three dots (⋯) next to the panel name you want to move.
-
Click on “Move Panel To”
-
Select Tab (Note: If you select personal tab, You will be required to select the sub tab as well.)
-
Click on Move Panel Button
![]()
Profile Field Types
There are seven types of profile fields in Namely. Each are used for a specific purpose:
-
Text: A short text field that should be limited to 500 characters.
-
Long Text: A text field used for fields requiring a greater character limit - there is no character limit.
-
Date: A date field in your preferred date format.
-
Select: A dropdown with menu with multiple options. Choose this option and you'll be prompted to enter options for a dropdown menu.
-
Checkboxes: Multiple options in checkbox format.
-
File: Gives users the ability to upload a file.
-
Number: Gives users the ability to enter number data.
Note: Once you have created a new field, see How do I make a Profile Field visible for all employees? to learn how to make the field visible.
Tip:
Please make sure to click 'Save Changes' button on top right corner to finalize any change you made.