Adding a New Employee to Namely Payroll
How to add a new Employee into Namely Payroll and complete their Employee profile.
Refer to this video:Adding a New Employee to Namely Payroll
ADDING A NEW EMPLOYEE – HRIS FIELDS
Create the Employee Profile
To create an employee profile:
-
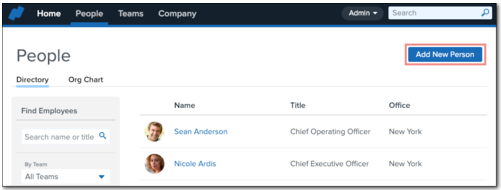
Click the People tab.
-
Click Add New Person.
-
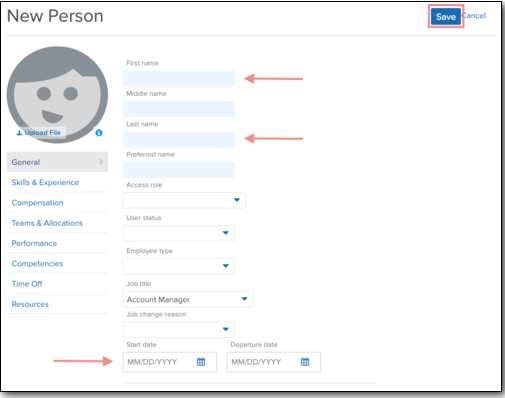
Complete the following fields (*required to save the profile):
-
First name*
-
Last name*
-
Start date
-
Email
-
Company email*
-
Date of birth
-
SSN
-
Gender
-
Marital status
-
Home address
-
Click Save.
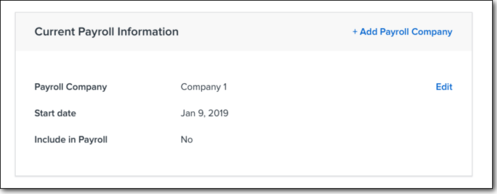
Add Payroll Information
To assign an employee to a pay group:
-
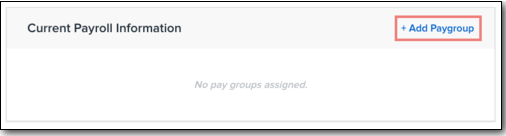
On the General tab, click Add Paygroup under Current Payroll Information.
-
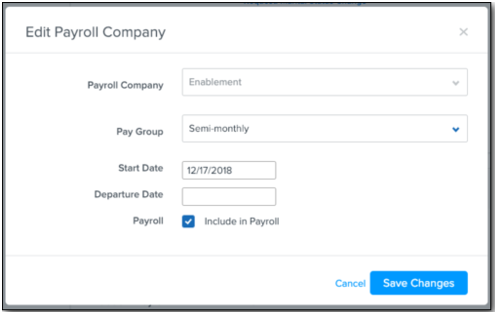
Select a Payroll Company.
-
Select a Pay Group.
-
Select a Start Date.
-
If the employee is assigned to only one payroll company, then changing the Start and/or Departure Dates will also change the employee's Start and/or Departure Dates.
-
If the employee is assigned to more than one payroll company, then changing the Start and/or Departure dates will not change the employee's Start and/or Departure dates.
-
Select Include in Payroll.
-
You must select Include in Payroll to include an employee in a pay cycle.
-
Click Save Changes.
Note for multi-EIN companies: A default payroll company and start date will display for any employee at a multi-EIN company. However, employees will not sync to Payroll until they have a pay group added.
If an employee works multiple jobs at a multi-EIN company, you can assign them to multiple pay groups by clicking Add Payroll Company.
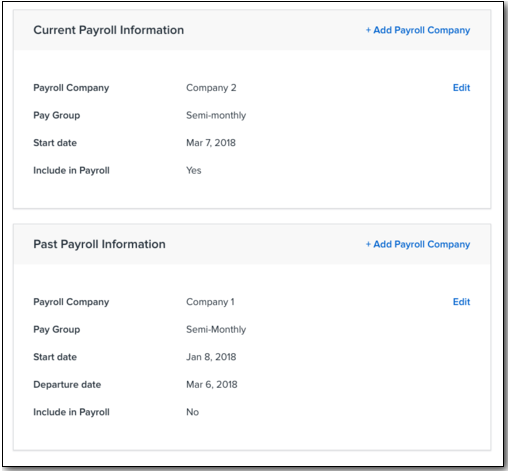
Edit Payroll Information
Once pay group has been assigned, you can edit any field of an employee’s current payroll information except Payroll Company.
You can terminate an employee from the payroll company by selecting Edit and entering a Departure Date. This moves the payroll information to Past Payroll Information.
-
If the employee is assigned to only one payroll company, then changing the Start and/or Departure Dates will also change the employee's Start and/or Departure Dates.
-
If the employee is assigned to more than one payroll company, then changing the Start and/or Departure Dates will not change the employee's Start and/or Departure Dates.
To assign an employee to a different pay group:
-
Click Edit.
-
Select a new Pay Group.
-
Click Save.
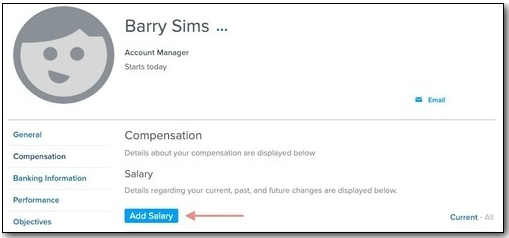
Add Salary
To add an employee's salary:
-
Click Compensation.
-
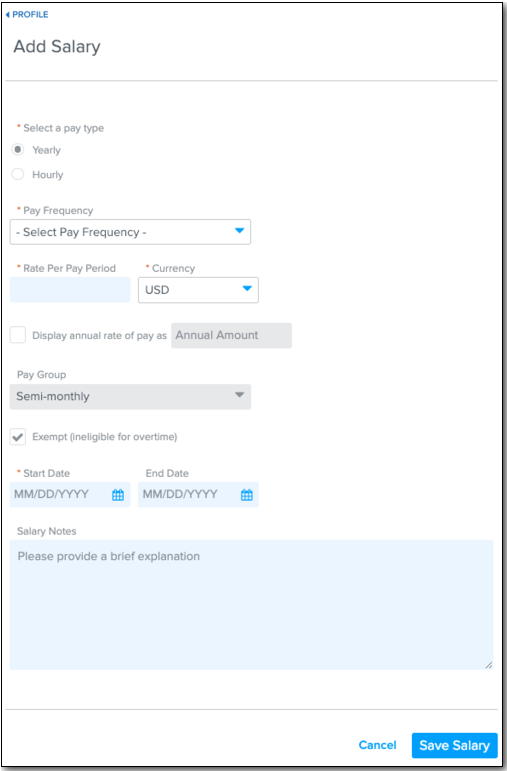
Click Add Salary.
-
Select a Payroll Company.*
-
Select a Payroll Job.**
-
Select Yearly or Hourly*** for the pay type.
-
Select a Pay Frequency.
-
Enter the employee’s Rate Per Pay Period.
-
Select the Currency type.
-
Select and enter how you want to the annual rate of pay to display (optional).
-
Select whether the employee is ineligible for overtime (optional).
-
Enter the Start Date for the salary.
-
Enter any notes you want to make for the employee’s salary.
-
Click Save Salary.
* Payroll Company will only appear for multi-EIN organizations.
** Payroll Job will only appear at organizations that allow multiple jobs.
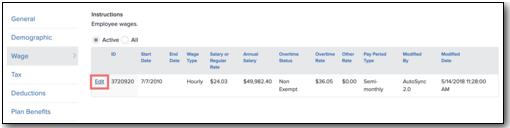
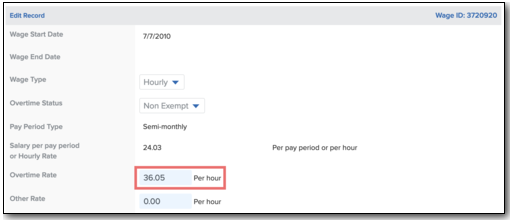
*** Overtime Rates for Hourly Employees
When you first define an hourly wage for an employee in HRIS, an overtime rate 1.5x their regular rate is automatically created on the employee’s Wage record in payroll.
You can change the automatically generated overtime rate by clicking Edit next to the employee’s wage record in payroll.
-
Note: Any changes to an employee's hourly rate in HRIS will not update the overtime rate. This prevents the unexpected override of intentionally set overtime rates. If you'd like to update an employee's hourly rate, we recommend creating a new wage record in HRIS instead of modifying.
Enter Employee Banking Information
To add an employee’s banking information, click Banking Information.
PROFILE STATUS – PAYROLL FIELDS
After you’ve created the employee’s profile in HCM, the employee will appear on the Profile Status page.
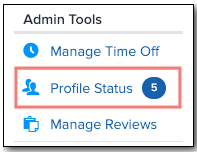
To access the Profile Status page:
-
Click Profile Status under Admin Tools homepage, or
-
Select Profile Status from the Reports dropdown in Namely Payroll.
Any missing employee fields required to process payroll will display on the Profile Status page. To complete a missing field, click it. If you have completed all of the required HCM fields, you still need to complete the Demographic and Tax fields in Payroll. 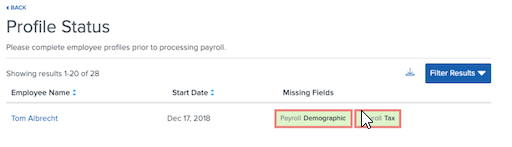
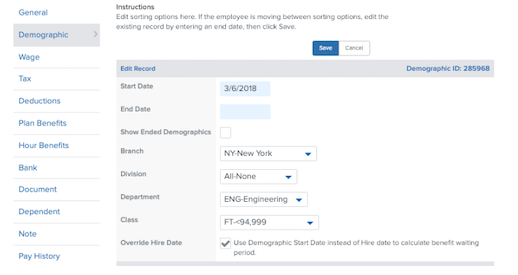
Payroll Demographic
To complete the employee’s payroll demographic information:
-
Click Payroll Demographic next to the employee on the Profile Status page.
-
Enter the Start Date.
-
Select a Branch.
-
Select a Department.
-
Select a Class.
-
Click Save.
ADDITIONAL PROFILE FIELDS
The employee’s profile status will display as completed once all required profile fields have been entered. Ensure all employees are listed as completed before processing payroll.
You can update additional employee information in payroll like overtime rates, recurring earnings, deductions, and hour benefits, but these items are not required for payroll processing.
TIPS
These tips will help prevent sync issues between an employee's HRIS and Namely Payroll profiles:
-
Phone numbers must have ten digits.
-
The Gender field with either Male or Female must be filled out to ensure profiles have all fields required by the IRS and Benefits providers.
-
Always double check Social Security numbers for accuracy.