Employee Self Service - Administration Tab
This is an overview of the Administration Tab that is located on the Employee Self Service.
Administration
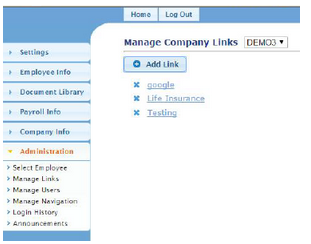
Manage Links
The Manage Links section will allow you to add any links to websites for employees to access.
To add a new link:
-
Click on Add Link
-
Title = enter the Title that should display on screen
-
URL = enter the link
-
Click on Add Link
To delete a link:
Click on the x next to the link to be deleted
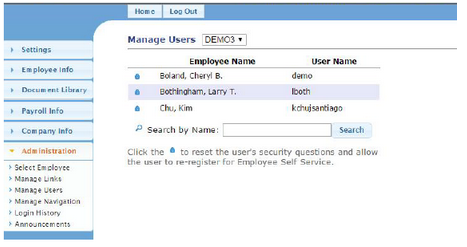
Manage Users
The Manage Users section will allow you to view employees that are registered On ESS, and to reset security questions to allow employees to re-register for ESS in the event they forget their username or password and can’t reset it themselves.
To search for an employee in the list, enter the employee’s name in the search box and click on the Search button
To reset an employee, click on the lock symbol next to their name
The Manage Navigation section will allow you to change the order information is displayed on ESS, as well as change section and link names.
To change display order:
Click on the arrow next to a section or link until the item is in the place desired
Click on Save Sorting once all items are in the order of preference
To change a section or link name:
-
Click on the pencil icon next to the item to be changed
-
Enter updated Title or Description
-
Click on Save
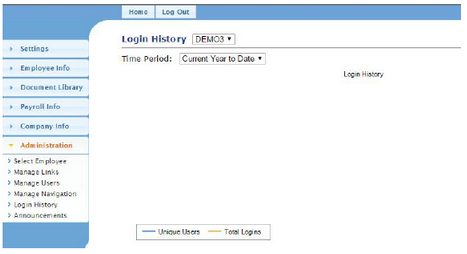
Login History
The Login History section will allow you to view a graph showing summarized login history within a specified timeframe. Time period selections are:
-
Last 30 days
-
Last 60 days
-
Last 90 days
-
Last 1800 days
-
Last 365 days
-
Current Year to Date
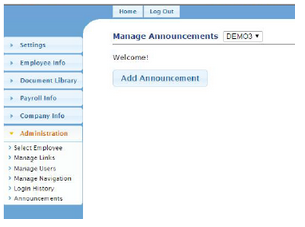
Announcements
The Announcements section will allow you to set up any announcements employees should see when they first log in to ESS.
To add an announcement:
1. Click on Add Announcement Title = enter the title of the announcement
2. Display After = will default to the current date; update if needed
3. Expiration Date = will default to 60 days from the current date; update if needed
3. Enter the announcement information
4. Use tools to format text or to insert videos, images or tables as needed
Preview the announcement by clicking on View, then Preview.
Click on Save once announcement is complete
To edit an announcement:
-
Click on the Edit link next to the announcement title
-
Edit as needed
-
Click on Save
To delete an announcement:
-
Click on the Delete link next to the announcement title
-
A message will display asking if you are sure you want to remove the announcement; click on Delete