How to Send Sales Kits Via Docusign
During the sales process is to send paperwork to the client to agree to payroll services. The below steps will need to be used when sending the document through Docusign.
1. Pre-fill the PDF with information that is already provided to you and save it. This can be the client's contact information, payroll tax data, etc.
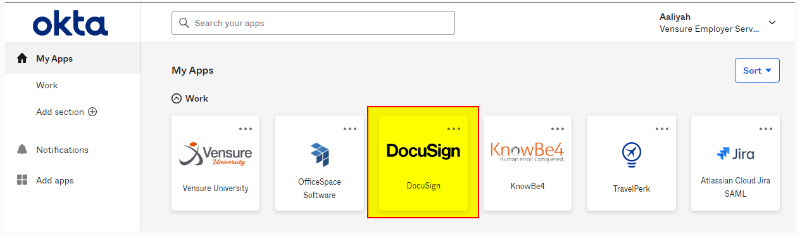
2. Sign into Vensure.okta.com with your Vensure Microsoft account. Pro tip: bookmark this tab as it may save time later.
3. Click on the Docusign App
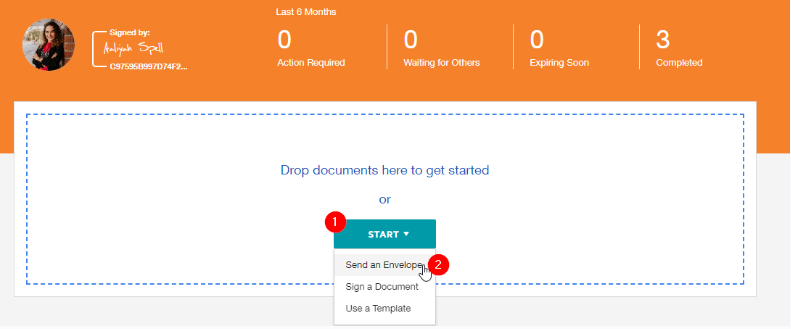
4. On your dashboard, click the START button then Send an Envelope
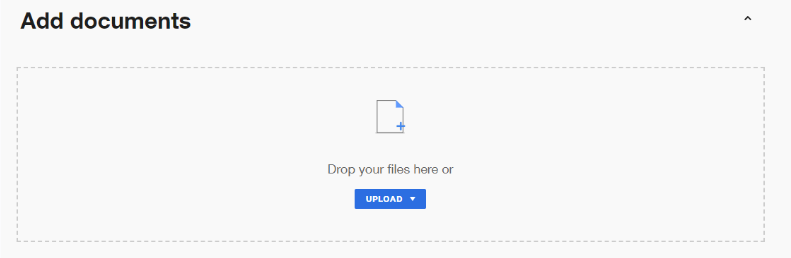
5. You can either drag and drop the pre-filled PDF or use the upload button to browse your computer for the saved pdf.
6. Once the document is added, you will need to add recipients to the envelope. The yellow box will be the client's name and email address. The green box will be the action for which that person needs to do.
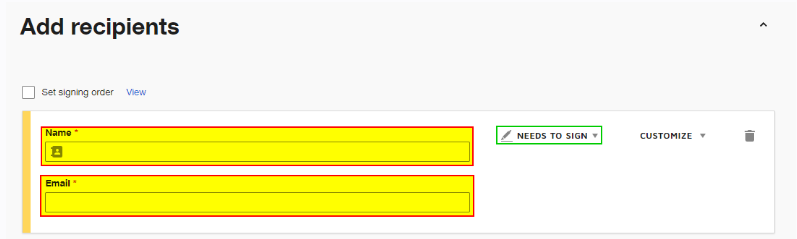
Actions
Needs to sign - Recipient will sign and complete the DocuSign
Receives a Copy - Recipient will only receives copies before and after the Docusign is completed.
In Person Signer - Will not be used at this time
If you need to add an additional person, use the ADD RECIPIENT button
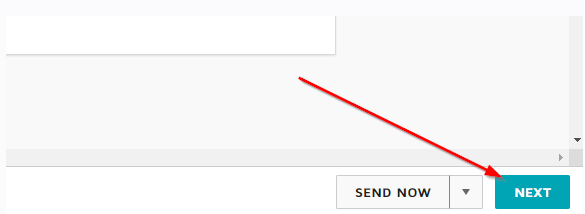
7. Click the green NEXT button to edit the inserted pdf. DO NOT CLICK SEND
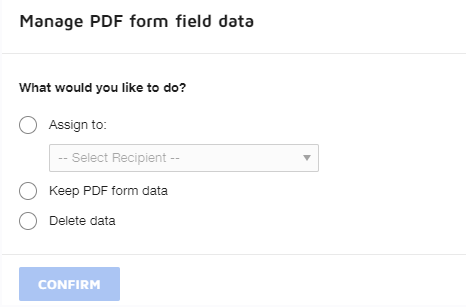
8. The below pop up will appear. Ensure that you click Keep PDF form data and click confirm
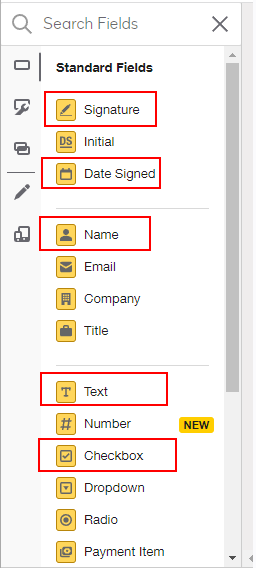
9. Scroll through the PDF and insert the below needed fields by clicking the field and click the space where you need it added.
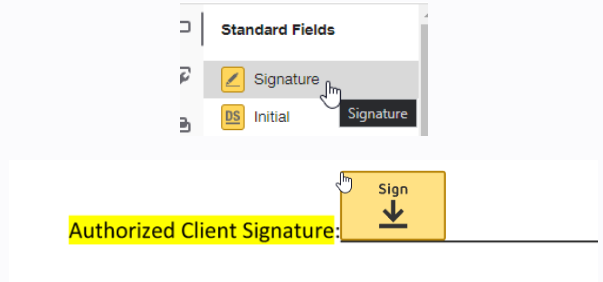
Example:
10. Once all the needed fields are added to the PDF, click the Send at the bottom right hand side button.