How to pull a RTS file: Implementation
Since an RTS file needs to be generated for historical purposes, the client's start date will need to be updated on the company's profile.
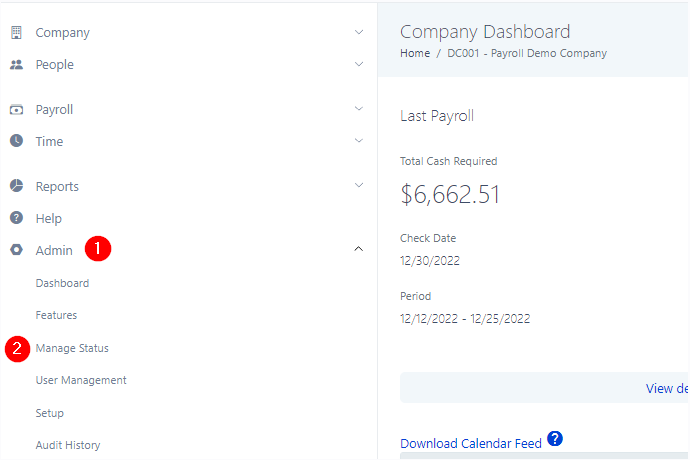
Click the Admin section in the left navigation bar then Manage Status

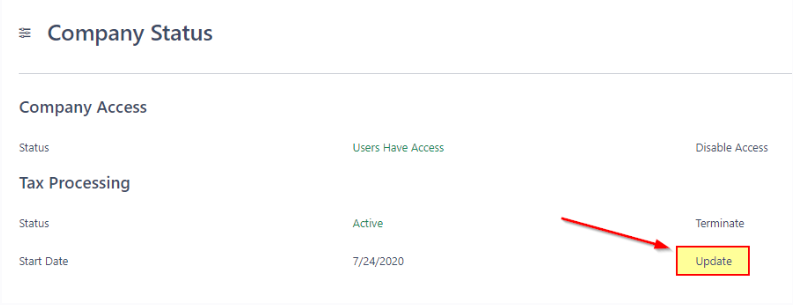
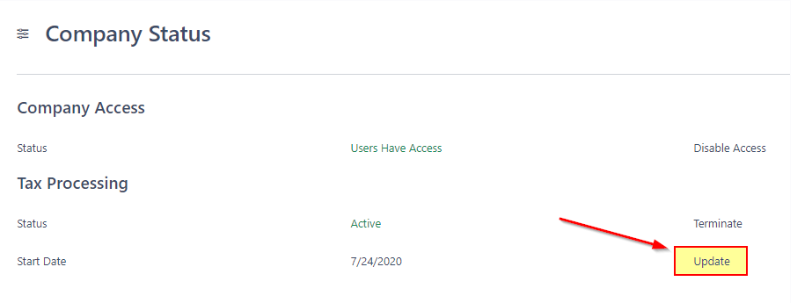
To edit the company's start date click update next to the original start date.
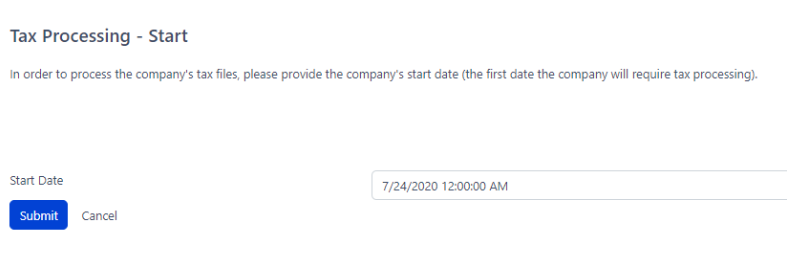
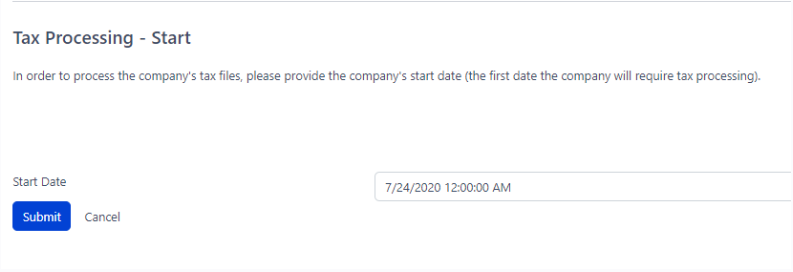
You will then need to update with a the quarters first date (Q1:1/1, Q2:4/1, Q3:7/1, Q4:10/1) and click submit to save changes.
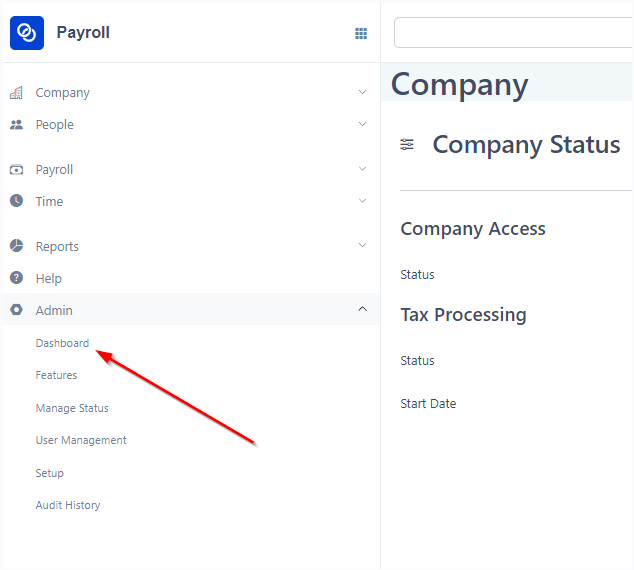
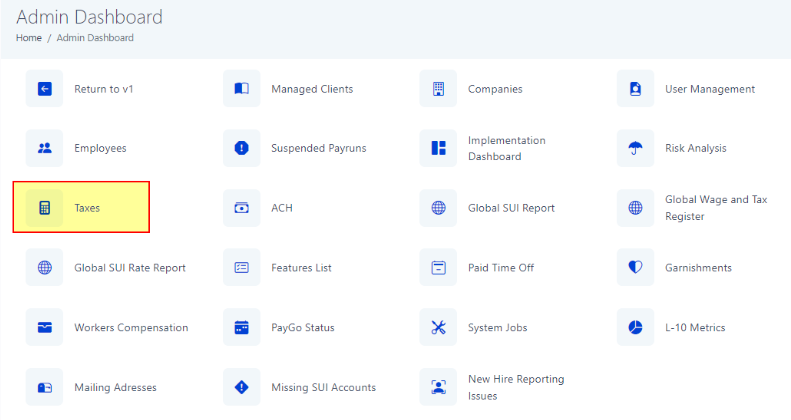
Click Admin in the left navigation bar and then Dashboard to go to the Admin Dashboard
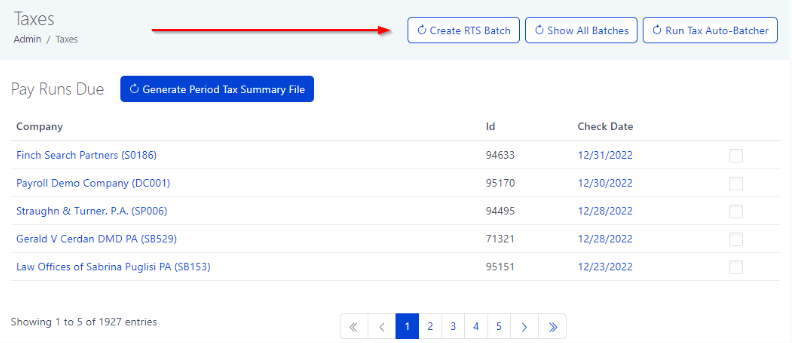
Open Taxes in the Admin Dashboard and click "Create RTS Batch"
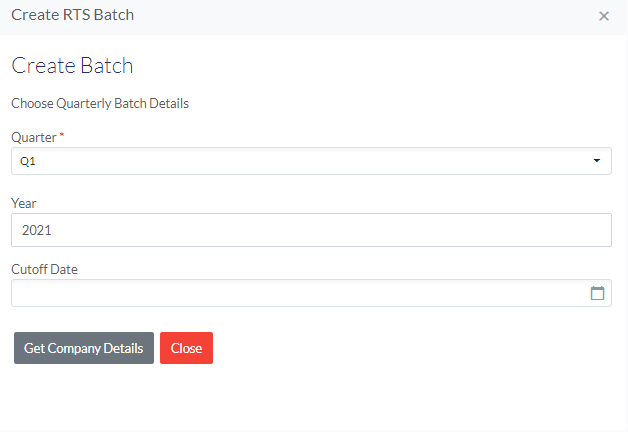
Select the quarter, year, and cutoff date for which the RTS file will need to created for:
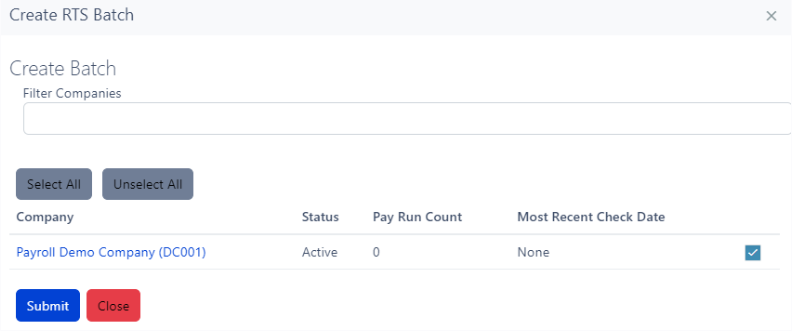
Select the company you wish to create the file for and click "Submit"
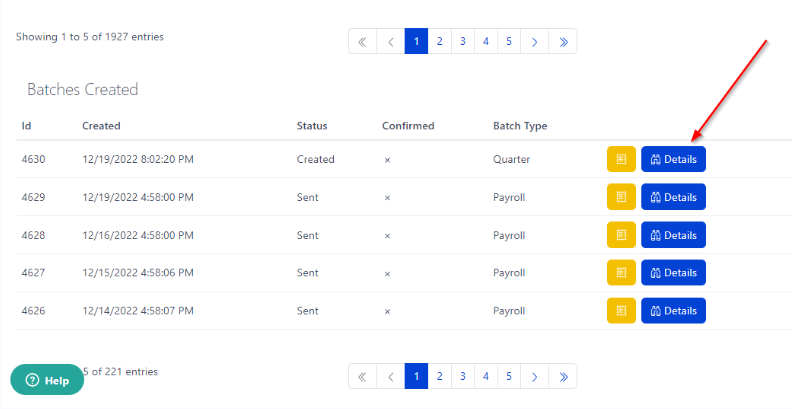
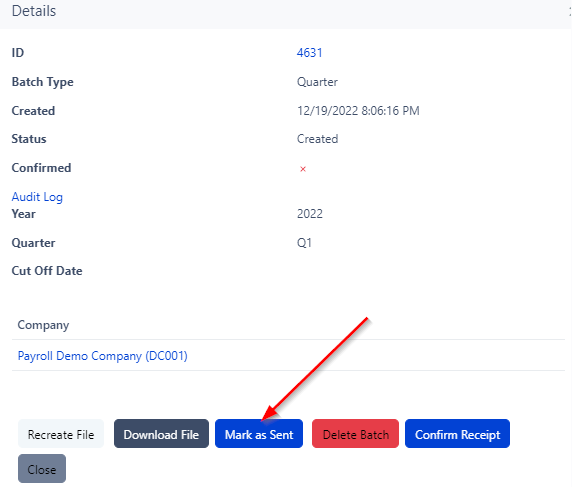
The batch will then be listed under the Batches Created section. Click the details button next to your created batch.
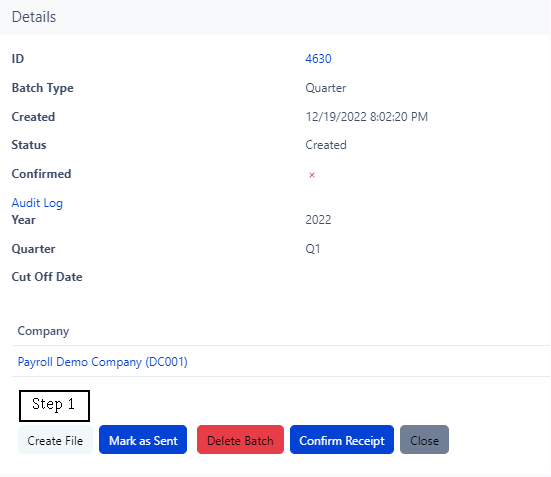
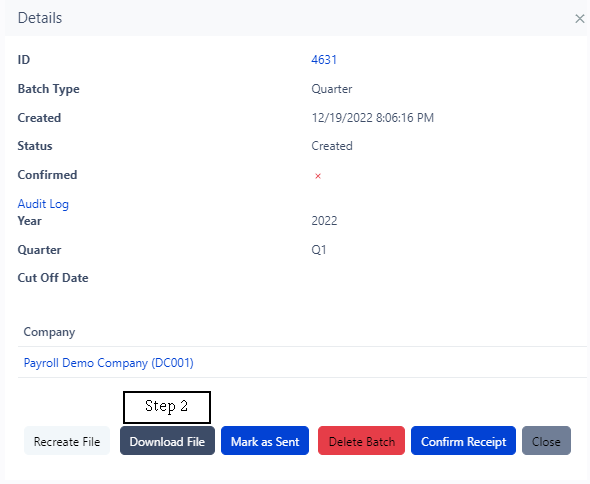
Click "Create". Note, the button will change to "Creating File". Once it is complete, you can then download the RTS file.
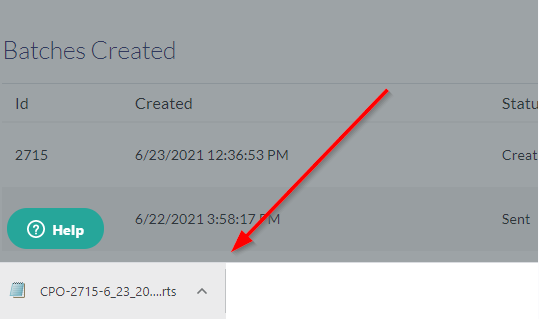
Once you click download the RTS file, it will appear at the bottom of the screen. You can then drag and drop where you need to attach the file.
Once the file is downloaded, you will then need to "Mark as Sent"
After completing the above steps, make sure to change the company's start date.
Under the Taxes headline there is a hyperlink to take you back to the Admin Dashboard

Click the Admin section in the left navigation bar then Manage Status
Click the Admin section in the left navigation bar then Manage Status

To edit the company's start date click update next to the original start date.
You will then need to update the start date back to first live payroll.